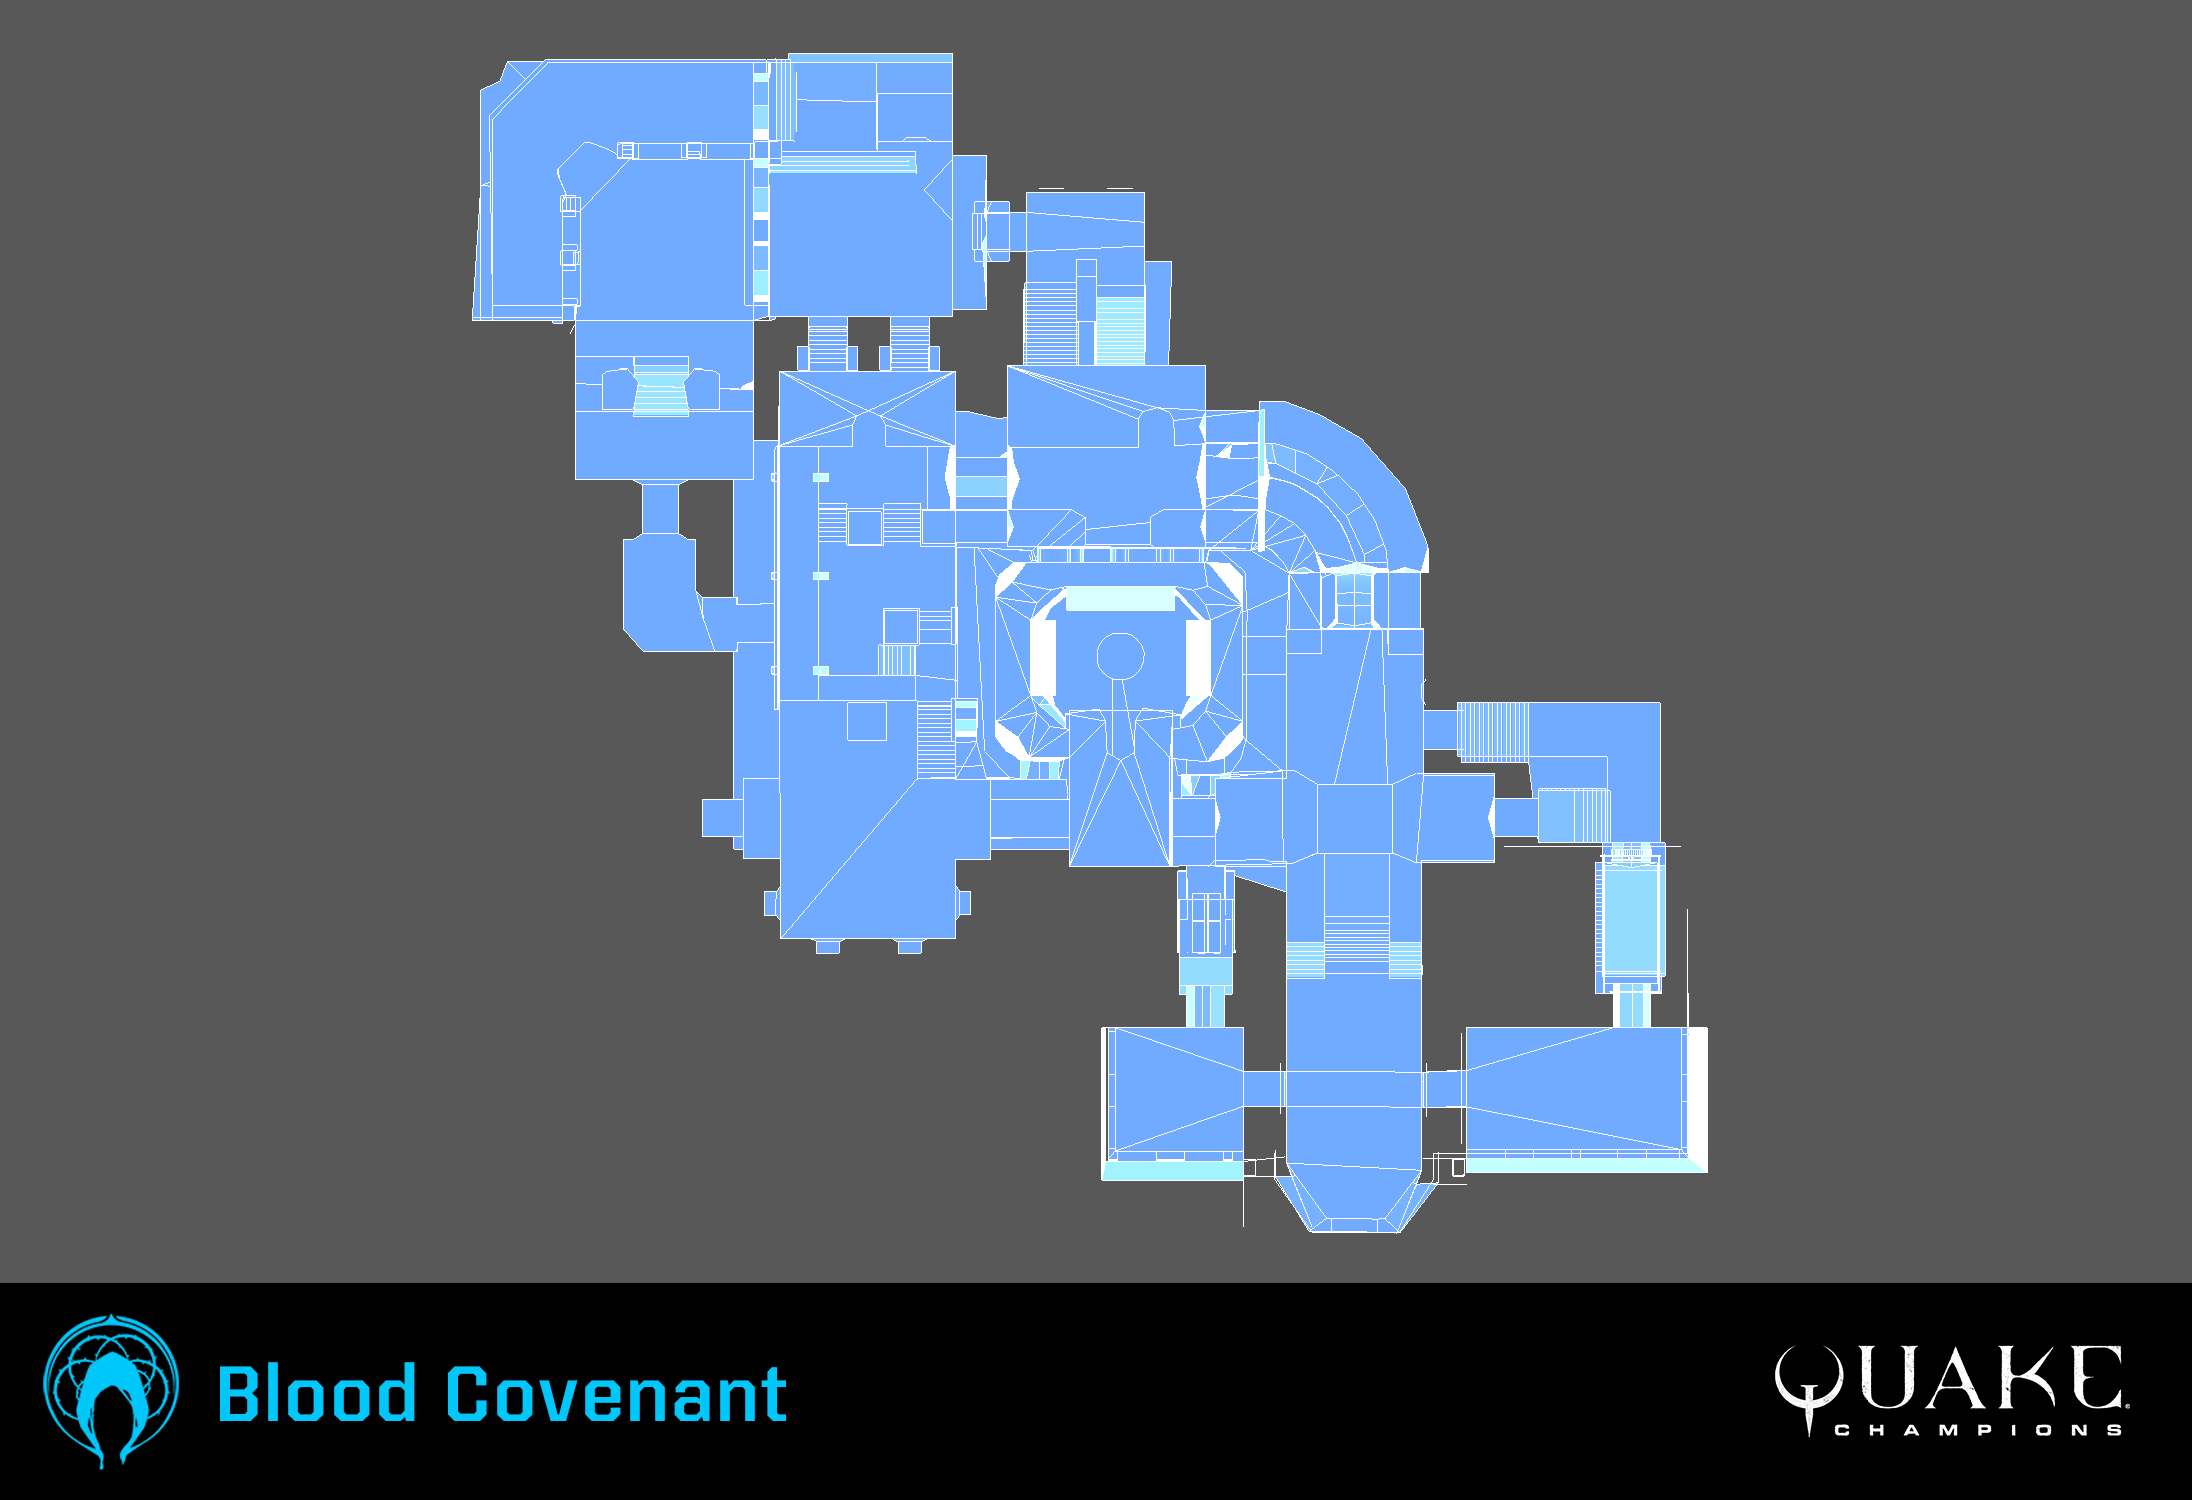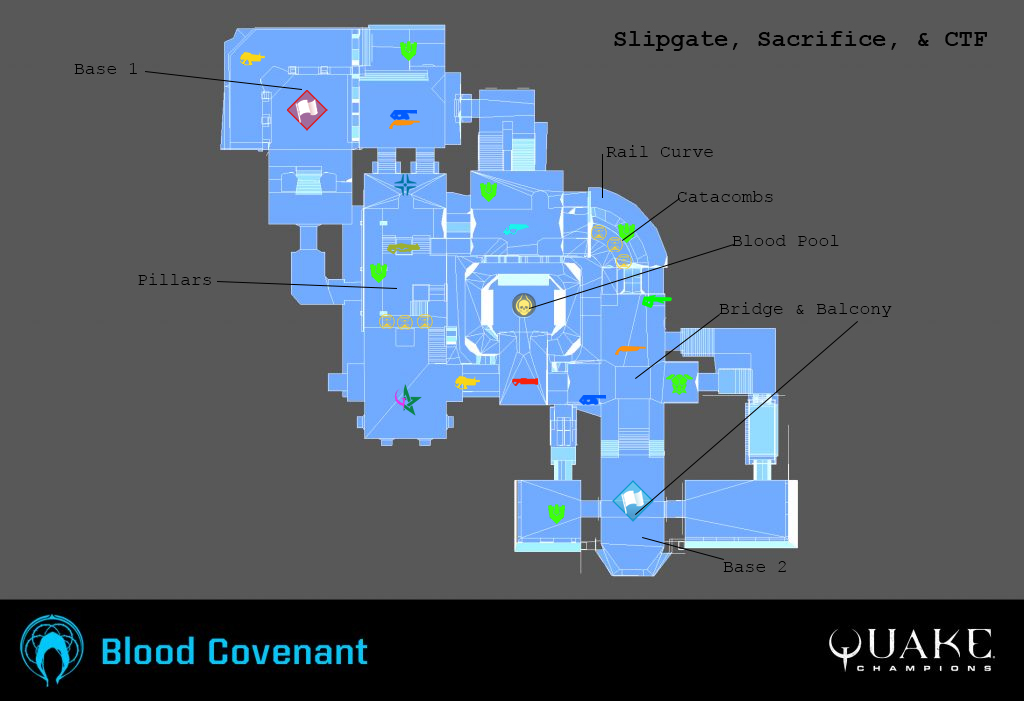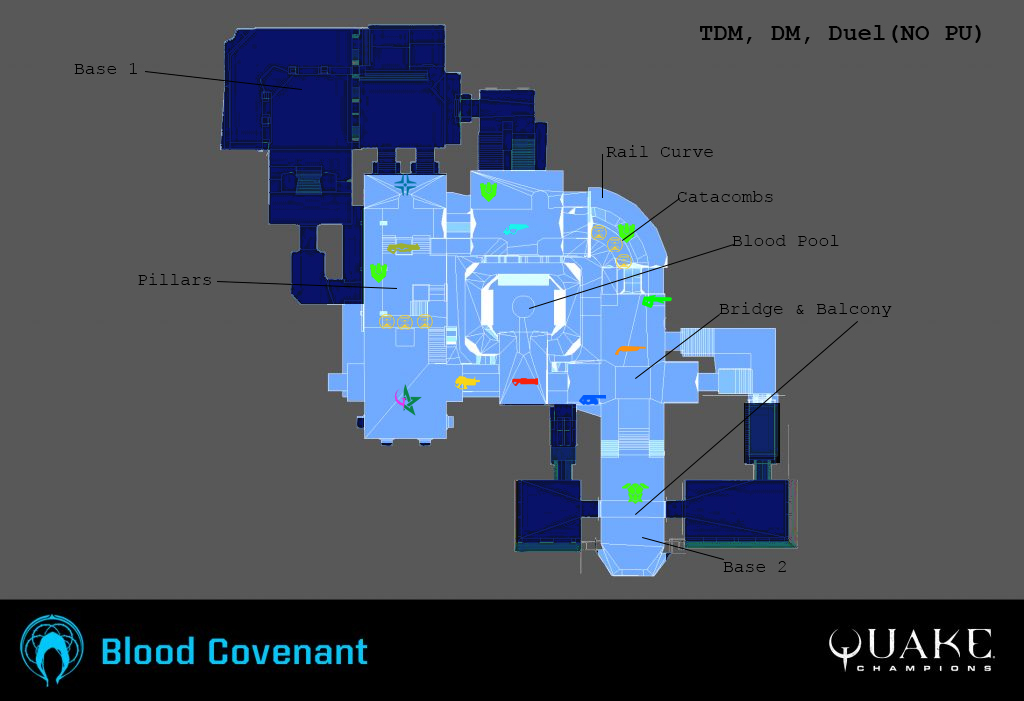
Areas #
BLOOD POOL #

The central hub of the map, players will find the Rocket Launcher at the top of the jump pad, on the straightaway that connects the Bridge and upper Pillars. Be careful of enemies coming from either side in this area who may contest you for the weapon, but if you manage to hold the high ground here you’ll be in a good position! Side paths in this main area lead to all 3 floors of Blood Covenant, including to the Rail Path and Catacombs. Players can also find health bubbles, ammo, and a Light Armor here.
THE BRIDGE AND BALCONY #

The highly-contested Heavy Armor major powerup spawns on the Balcony below the Bridge, and enemies will often lay down Rocket Launcher fire from higher ground to deter players from picking it up. Take care not to be knocked off the balcony by a rocket and into the void! One flight of stairs leads from the Bridge to the Balcony, while a second set of stairs leads down into the Catacombs. A side alcove provides access to the Super Nailgun and quick access to the Blood Pool. Four health bubbles spawn around this area, so try and make it back here if you’re wounded!
RAIL CURVE #

Sometimes called the “banana” by the community, this curved hall provides access to the Railgun overlooking the Balcony. Dropping down provides an escape route to the mid-level where you can grab some hourglasses that speed up your active ability cooldown—or fall all the way to the Catacombs.
CATACOMBS #

When the action becomes too intense, the Catacombs are a great place to take a quick breather. Pick up the Super Shotgun and Lightning Gun while you’re down here, and pick up the Light Armor.
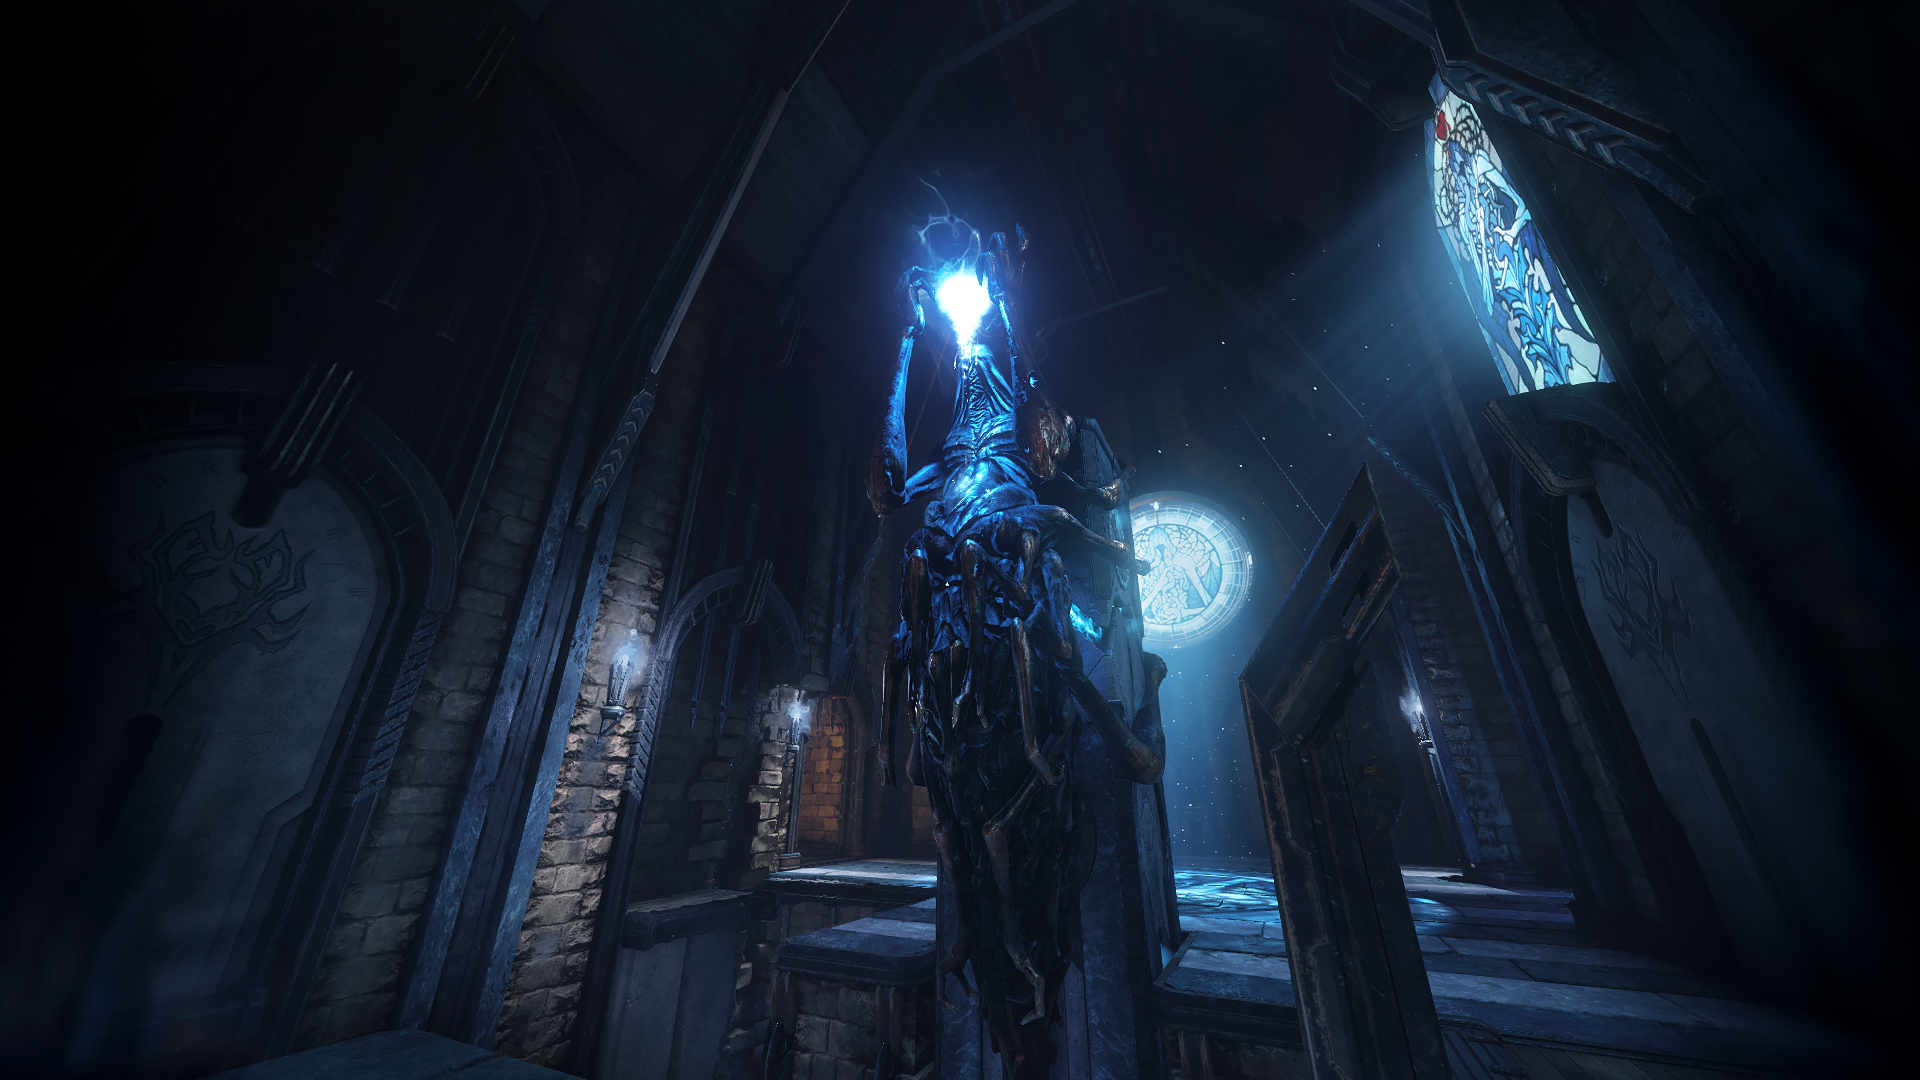
PILLARS #

This room is home to granite pillars that reach from the ground to the top floor. Jumping across the pillars is the quickest way to get across, but watch your step or you’ll fall to the fighting arena below. Not to worry though: a jump pad at one end of the room leads back up top (where a Mega Health resides!), and a teleporter door at the other end will position you in the right place to grab the Quad Damage/Protection powerups. The Tri-bolt weapon sits at the top of one of the pillars in this room, and health bubbles, cooldown hourglasses, and another Light Armor are scattered around.