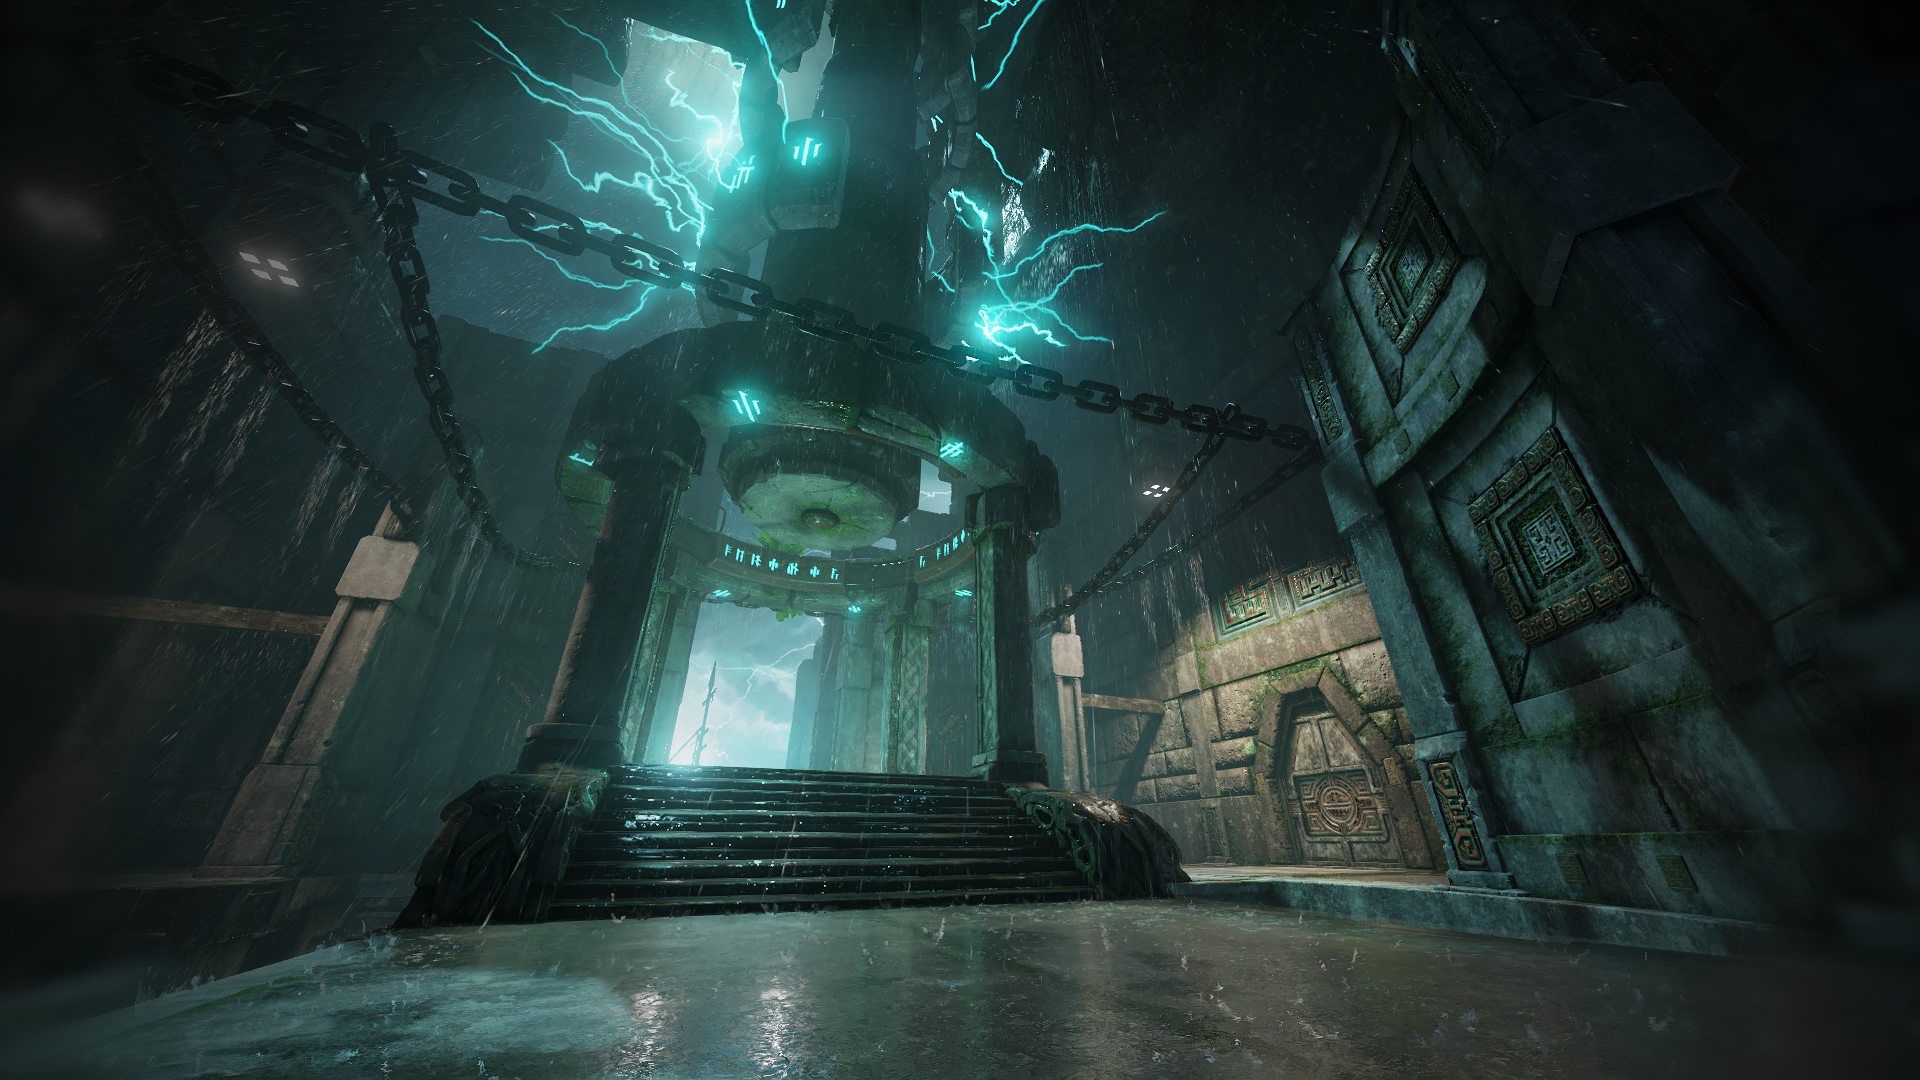
Even without the deranging drone of its moon-beast denizens, the nameless isle still draws Inganok’s ships to be dashed on its lightning-lashed stones.
Items #
- Quad [DM]
- Protection [DM]
- Heavy Amor
- Mega Health
- Armor (x2)
- Health Bubble (x9)
- Hourglass (x10)
- Machine Gun Ammo (x4)
- Shotgun Ammo (x3)
- Nail Gun Ammo (x4)
- Tri-bolt Ammo (x3)
- Rocket Ammo (x3)
- Lightning Gun Ammo (x3)
- Rail Ammo (x3)
- Ammo Box (x23) [DM]
Game Modes #
- Team Death Match
- Capture the Flag
- Clan Arena
- Slipgate
- Sacrifice
- Deathmatch
- Free for All
- 2v2 TDM
- Instagib
- Team Instagib
- Unholy Trinity
- Hot Rockets
- Mystery Champions
Areas #
Harbor #
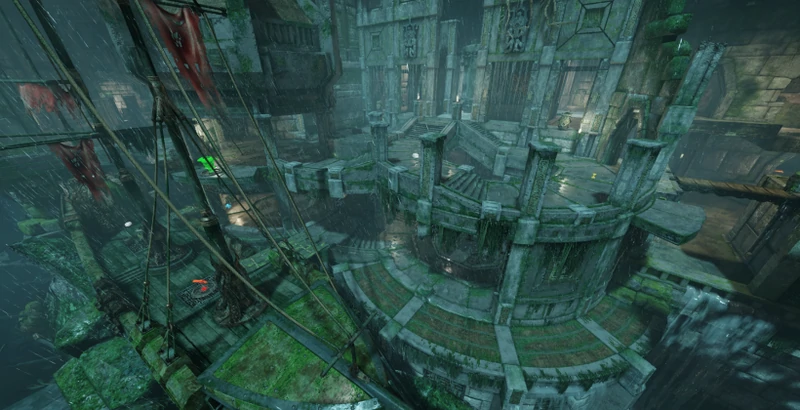
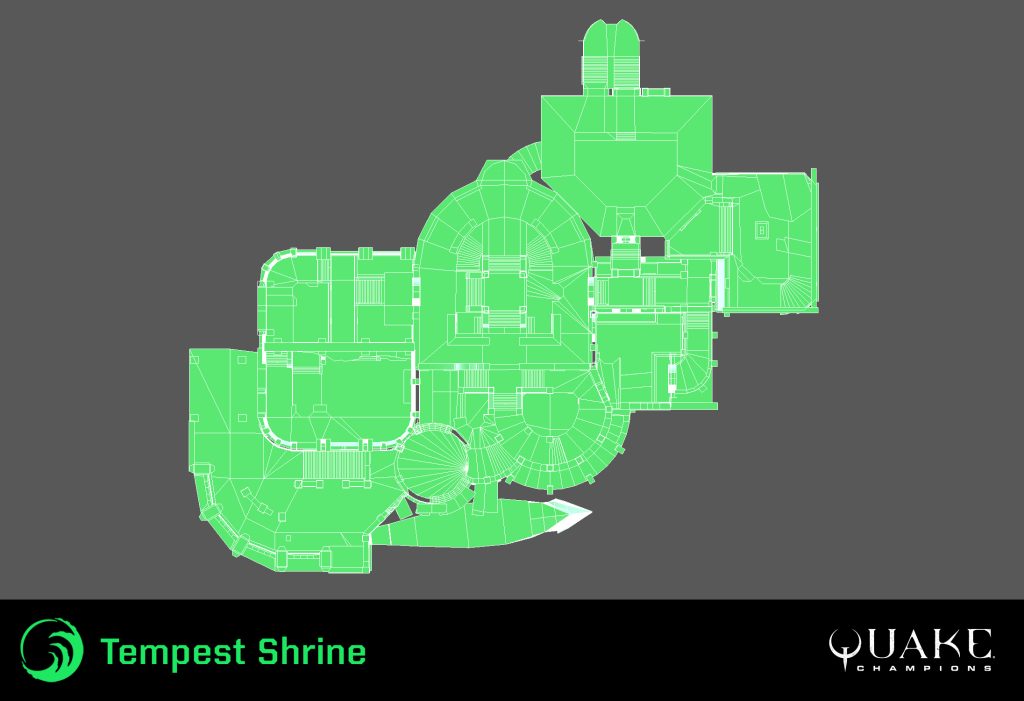
Shipwrecked vessels scatter the landscape, with only one crew managing to drag their salty carcass ashore the craggy island. Curved walkways wrap around, leading to a Heavy Armor up top. Make your way through the rain-slicked surfaces, and you’ll find a direct path to the Power-Up.
Lighthouse #
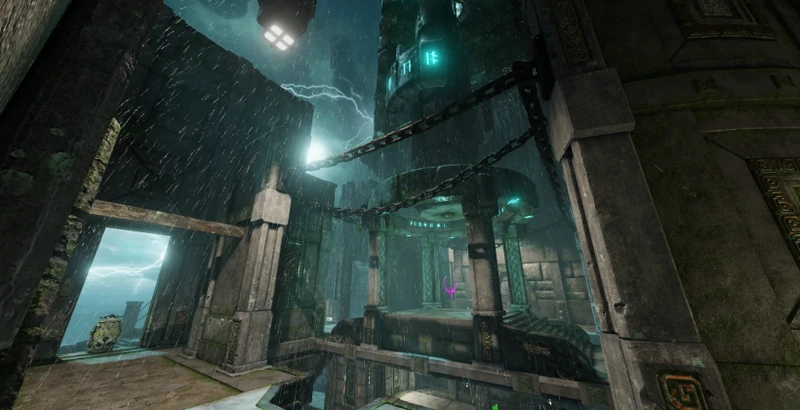
The Lighthouse sits behind the dark harbor, hungrily reaching from the island with fingers of stone. This is where players will gather to defend and grab the Power-Up and Railgun, although with no easy exit, you may need to fight your way out with your spoils in hand.
Flooded Hall #
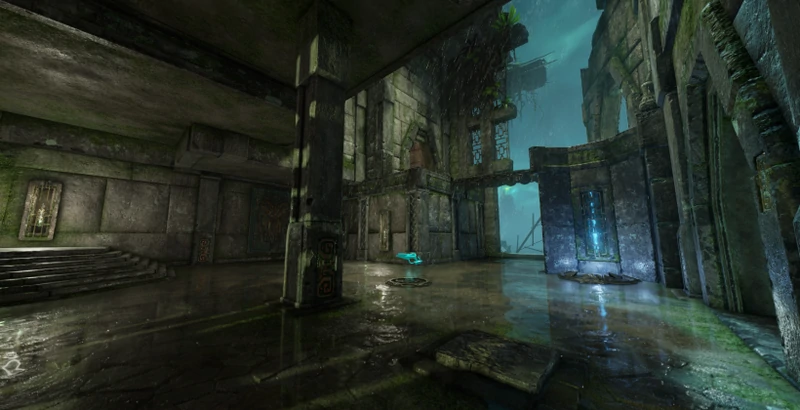
The side entrance to the shrine is where the Lightning Gun is located. Back up onto the wooden bridge to launch yourself onto the second level to take the high ground on the obelisk approach, or continue back and take a risky walkway on the edge of the arena to double back through the Harbor.
Mega Hall #
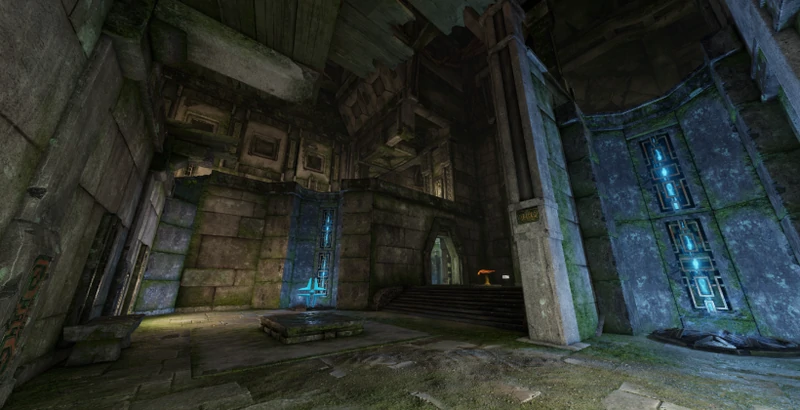
The Mega Hall sits between the Waiting Room, and Flooded Hall, and offers a little buffer zone and place to heal up before entering the Waiting Room which holds an Obelisk. An opening into the Waiting Room doesn’t allow much ability to scout out what’s inside, but can provide an unexpected ambush against unknowing defenders.
Waiting Room #
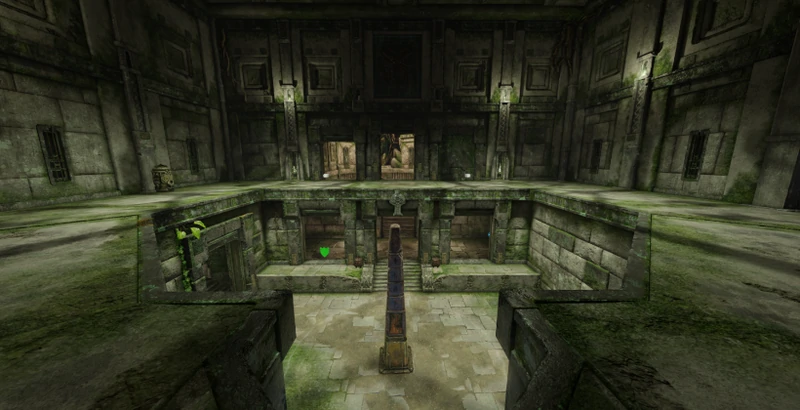
The Waiting Room was where worshipers lined up to pay tribute to Cthalha, and is where one of the obelisks are located. Stairs in the back of the room lead to the statue, and up to the second story. Defenders can reach out into the Mega Hall in an attempt to control the Mega Health.
Ruined Chamber #
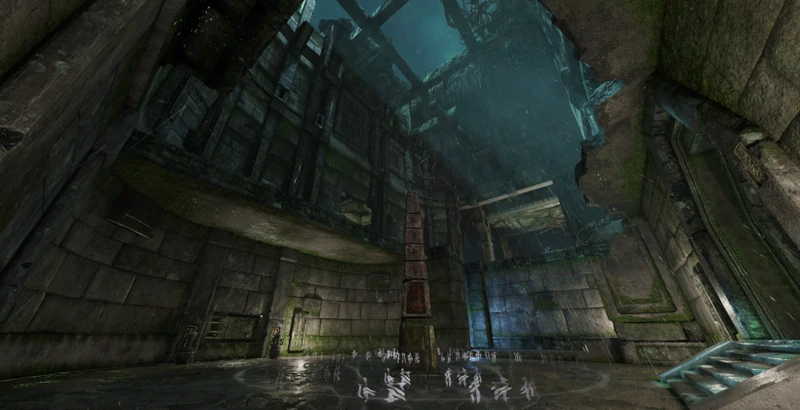
Overgrowth from nature reclaiming the temple marks the spot of the second obelisk. Defenders here can push out to the Heavy Armor, and have several areas to keep their backs covered by walls, and the edge of the arena. Escaping is a bit less straightforward, with a more risky route requiring use of a jumpad.
